Dear Reader, let us we know that “How to install XAMPP Server On our Local Windows System” So in this Tutorial We Learn Step By Step XAMPP Installation Process.
It is a simple, lightweight Apache distribution that makes it extremely easy for developers to create a local web server for testing and deployment purposes. Everything needed to set up a web server – server application (Apache), database (MariaDB), and scripting language (PHP) – is included in an extractable file.
XAMPP is also cross-platform, which means it works equally well on Linux, Mac, and Windows. Since most actual web server deployments use the same components as XAMPP, it makes transitioning from a local test server to a live server extremely easy as well.
1. Downloading For XAMPP Server
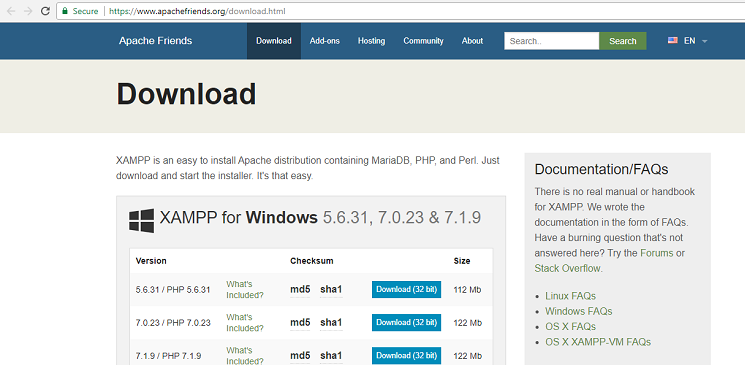
At First download, the installer file form the Latest Version of XAMPP Server and save that file to your Local System
2. Installation of XAMPP Server
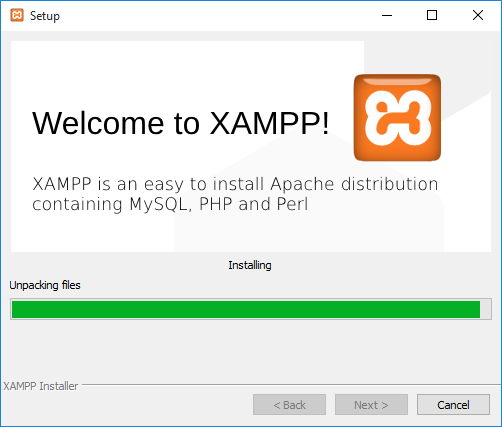
For starters, the installation process, open the folder where you saved the file, and double-click the installer file then click Next button.

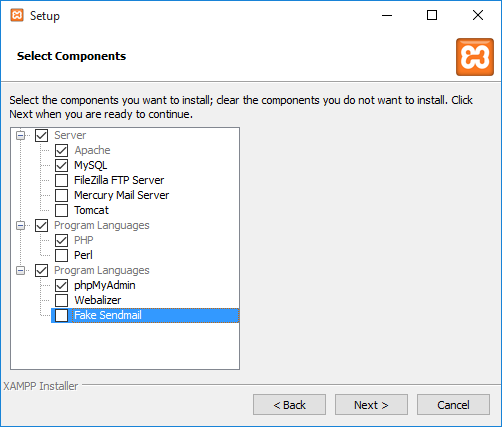
Choose the components if you want to install a Specific or Accept the default settings. then Click Next button
Next, choose the folder where you install XAMPP on your Local System .then click Next button

Learn more about Bitnami for XAMPP Server and click Next button.

Finally, XAMPP server is ready to install. Click Next button
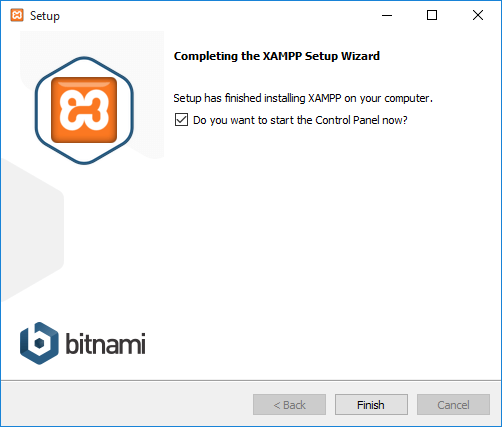
The final wizard will now appear, then click Finish.
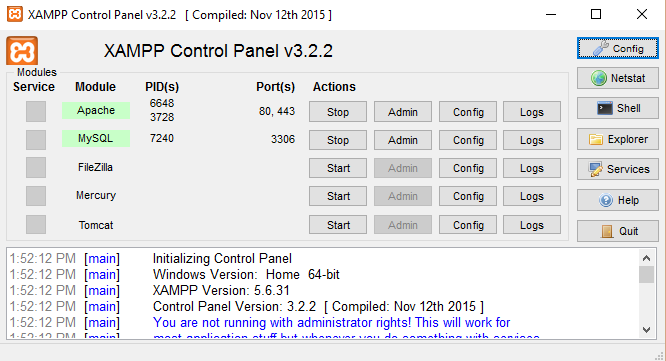
The Control Panel will automatically start the Apache and MySQL components. You can also start the other components if you plan to use them.