Dear Reader in This Tutorial let us We Know that “How we can Create Virtual Host in XAMPP Server”, So in this Tutorial, We Learn Step By Step Virtual Host Creation Process.
Virtual hosting is a method for hosting multiple domain names. This allows one server to share its resources, such as memory and processor cycles, without requiring all services provided to use the same hostname.
There are two types of Virtual Hosts–
i) Name Based Virtual Server
ii) IP Based Virtual Server
At First, I am going to assume that you’re using a Windows machine and have XAMPP Server installed
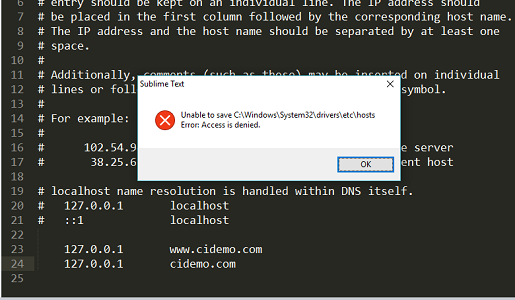
Step 1:-. You need to go your Computer drive where you installed Operating System and find the hosts file by following the bellow path
C:\Windows\System32\drivers\etc\hosts
Open a file in any editor and after making changes in the file you try to save file you should get a warning message, this message you got because this is a protected file
Step 2:- Now if you want to changes in that file you need to open that file in notepad++ when you open that file in notepad++ and after changes you want to save that file you see a bellow message as open that file as an Administrator mode, you need to click Yes.

Step 3:- When you open hosts file as an Administrator mod then type the below code
|
1 2 |
127.0.0.1 www.your_domain.com 127.0.0.1 your_domain.com |
like
|
1 2 |
127.0.0.1 www.cidemo.com 127.0.0.1 cidemo.com |
save that file

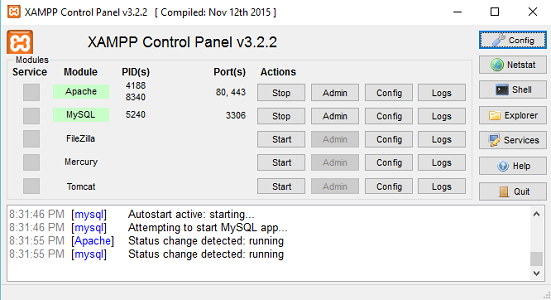
Step 4:- Now open XAMPP Server
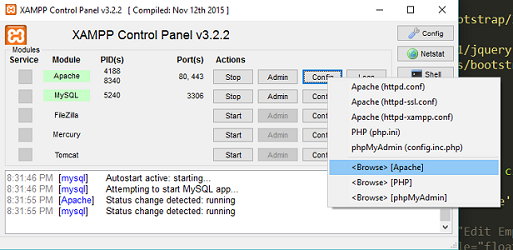
Step 5:- you need to click config then click Browse Apache
Step 6:- At this step click on conf
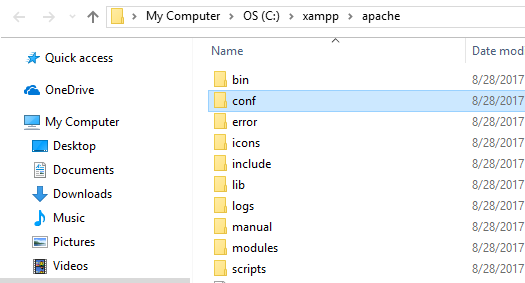
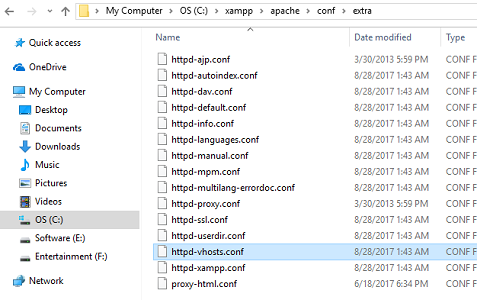
Step 7:- Now click on extra
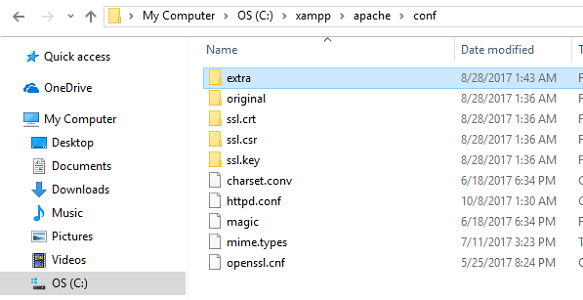
Step 8:- Here you can see a file “httpd-vhosts.conf” open that file
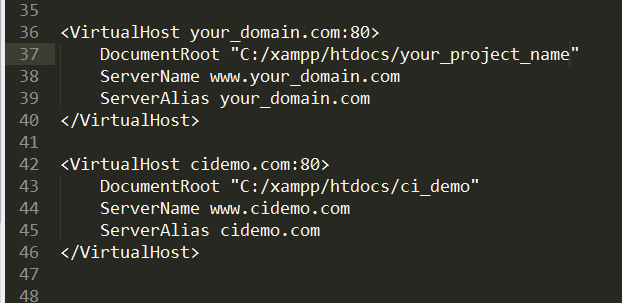
Step 9:- At this step, you need to type the below code in your file as-
|
1 2 3 4 5 |
<VirtualHost your_domain.com:80> DocumentRoot "C:/xampp/htdocs/your_project_name" ServerName www.your_domain.com ServerAlias your_domain.com </VirtualHost> |
like
|
1 2 3 4 5 |
<VirtualHost cidemo.com:80> DocumentRoot "C:/xampp/htdocs/ci_demo" ServerName www.cidemo.com ServerAlias cidemo.com </VirtualHost> |
You can also see below snapshot
Step 10:- Start your XAMPP Server because you change in Apache Server Files

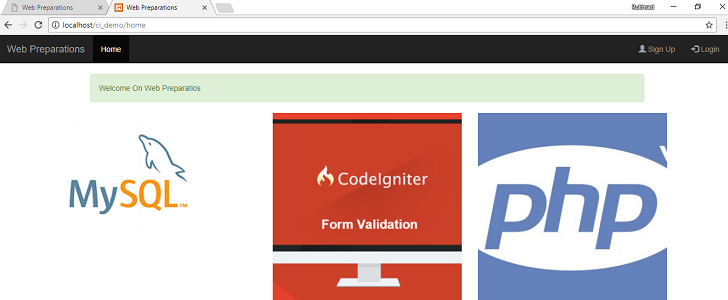
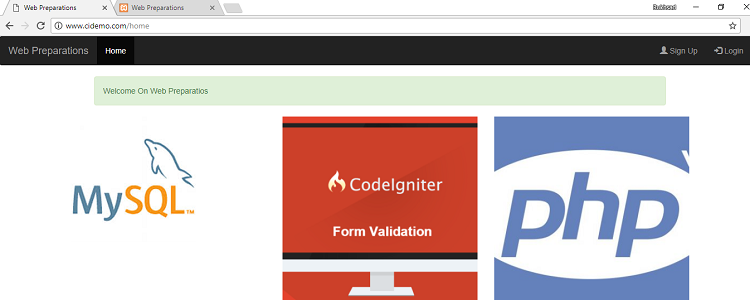
Step 10:- Congratulations you have successfully created a Virtual host, Now you type URL in Browser like
localhost/your_project_name/file_name
like
localhost/ci_demo/home
you can see the result
Step 11:- Finally you can also run your project using your chosen domain name like
www.your_domain_name.com
like
www.cidemo.com
If you have any query then please comment below, Thanks..
2 Comments:
asics kayno April 25, 2018
I actually wanted to construct a simple comment to thank you for the remarkable secrets you are giving here. My considerable internet search has at the end been recognized with high-quality ideas to talk about with my family and friends. I would believe that many of us visitors actually are undoubtedly lucky to be in a remarkable website with many perfect individuals with helpful opinions. I feel really lucky to have encountered your entire web page and look forward to many more entertaining times reading here. Thank you once more for a lot of things.
Webpreparations Team April 25, 2018
Thank you so much 🙂